My favorite eTrex setup
If you’ve just started using a Garmin eTrex or want to fine-tune your device for maximum efficiency, this guide will walk you through my most favourite settings and tweaks I use during cycling. Here’s a small table of contents:
- Change the Page Sequence
- Switch to Metric Units
- Customize Data Fields on the Map
- Set the System Clock to 24 Hour Mode
- Set up the Trip Computer
- Optimize the Main Menu
- Lock the Display to Day Mode
- Backup your Device
- Conclusion
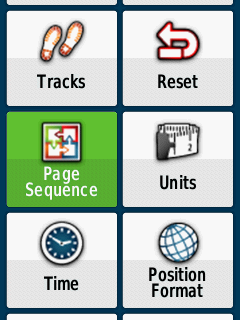
Change the Page Sequence
When you boot up the eTrex, the main menu is the first screen you see. By default, pressing the Back button on the top-right corner will return you to this menu no matter where you are.
For me, that’s not ideal. I rarely need to see the main menu mid-ride. Instead, I set the Back button to toggle between the Map and the Trip Computer—a much more practical setup for quick information and navigation during cycling. Here’s how to change it:
- Go to Setup and then Page Sequence
- In the Page Sequence menu, reorder the pages so that Map comes first and Trip Computer comes second.
- Delete the Main Menu option from the sequence.
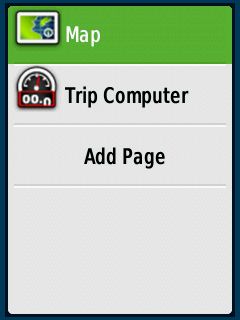
Now, the Back button will act as a hotkey to toggle between the Map and the Trip Computer. To access the main menu, double-press the Menu button on the left side twice.
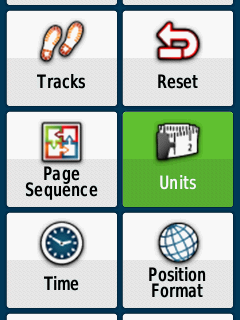
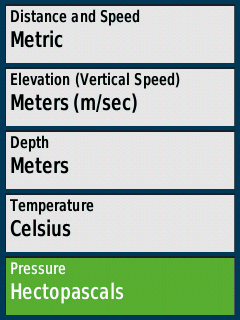
Switch to Metric Units
I’m in Europe and I prefer the metric system, so to change that I follow these steps:
- Go to Setup and select Units.
- Adjust all units to standard metric settings (e.g., kilometers, meters, Celsius).
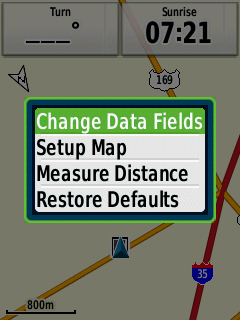
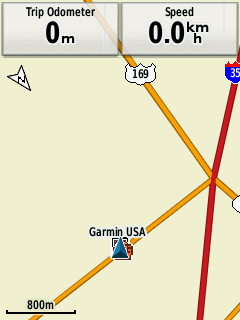
Customize Data Fields on the Map
For better navigation, I set two small data fields at the top of the map. Depending on my route, I switch between:
- Overall Distance and Current Speed
- Name and Distance to the Next Waypoint
To customize these fields:
- While on the map screen, press Menu and select Change Data Fields.
- Choose the data fields you want displayed.
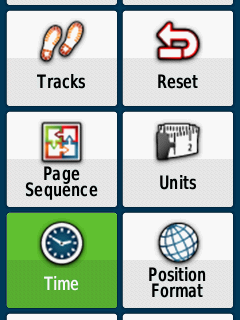
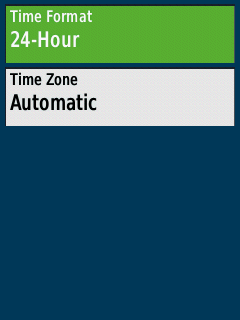
Set the System Clock to 24-Hour Mode
I change this because I generally prefer to see time in a 24 hour format. To change this:
- Navigate to Setup, then Time.
- Change the clock format to 24 Hour mode.
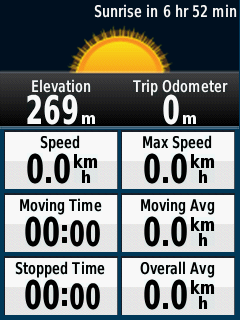
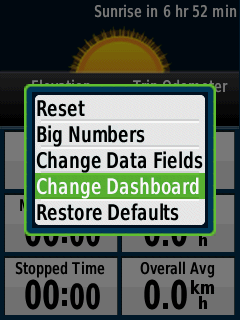
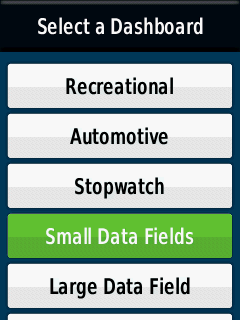
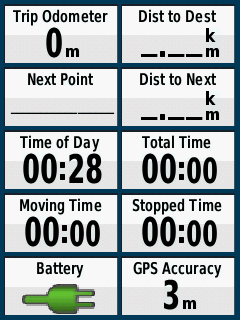
Set Up the Trip Computer
The Trip Computer is another essential tool, and its setup depends on your preferences. I prefer to have some distance metrics on the top, followed by time metrics in the middle and finally battery level and GPS accuracy at the bottom.
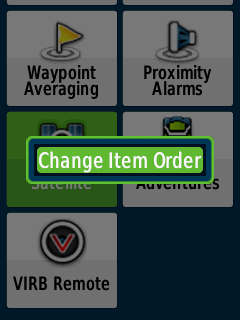
Optimize the Main Menu
The default main menu can feel cluttered with unnecessary options. I prefer a minimalist menu with just these options: Track Manager, Mark Waypoint, Waypoint Manager, Setup, Satellite and Elevation Plot. To clean up the menu:
- Open the Main Menu and press the Menu button on the left.
- Select Change Item Order to rearrange or remove items.
- As noted before, I remove everything except for 6 things
- If you need to add something back, scroll down to Add Page.

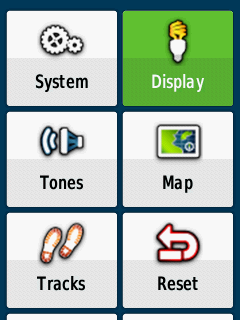
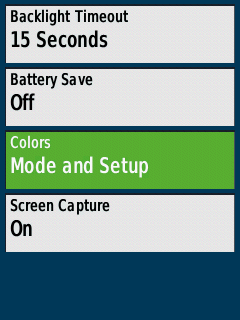
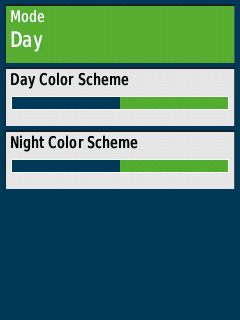
Lock the Display to Day Mode
If you use custom maps like I do, they may lack a proper night mode, which can cause inconsistencies in the display (read: black datascreens on a white map). To avoid this:
- Go to Settings, then Display.
- Scroll to Mode and Setup
- Set the device to always stay in Day Mode.
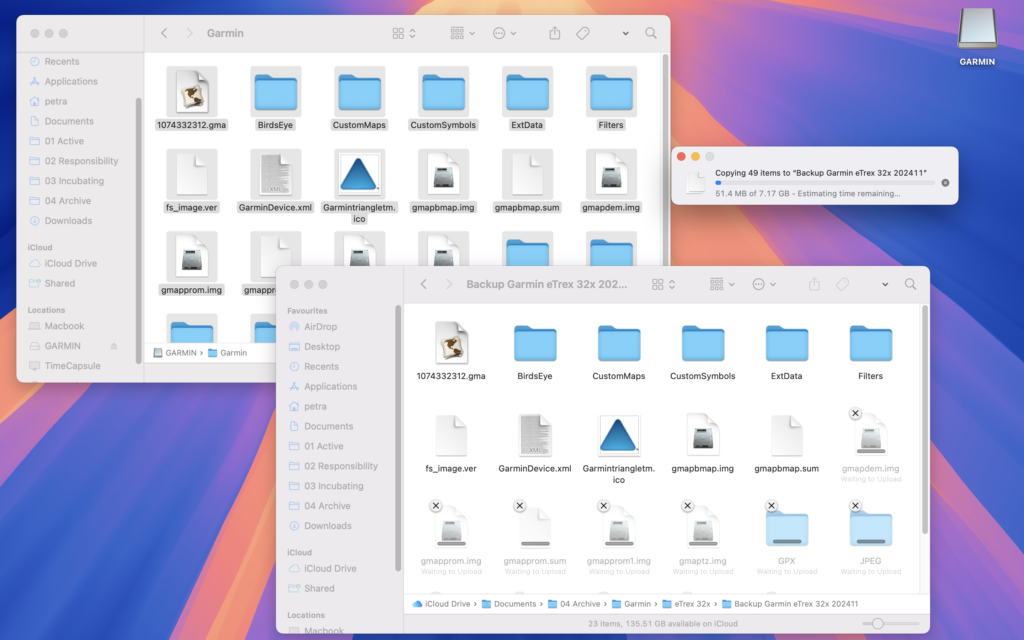
Backup Your Device
Finally, to ensure you never lose your customizations or data, make a backup of your eTrex. This way, if something ever goes wrong, you can restore your device to its current state. Beware though: this process takes several hours.
- Connect the eTrex to your computer using a USB cable.
- Navigate to the device on your computer.
- Select all files and copy/paste them to a secure location.
Conclusion
These adjustments have made my eTrex far more practical for cycling and navigation. With a bit of setup, you can transform your device into a personalised navigation powerhouse. Stay safe, keep your eyes on the road (and not your eTrex) and keep the rubber side down!